On Azure TFS we can add projects (or repositories) mainly of two types – Git based and TFS based. In Embold, you can add both the types (support for Embold Windows installer only).
Private Git-based repositories
1. Log in to your Azure TFS Server (newly known as AzureDevOps Server)
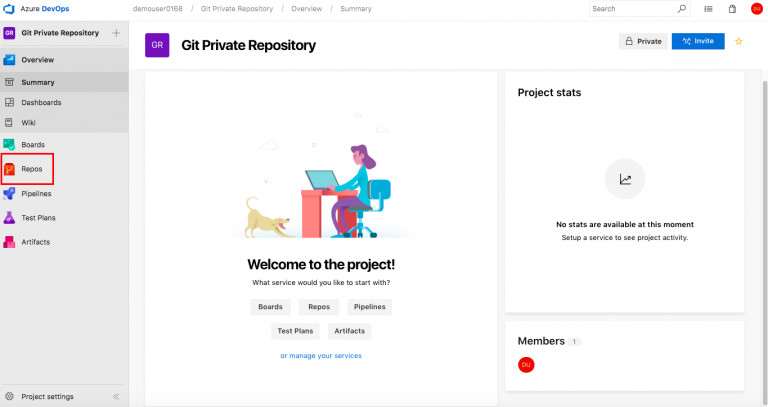
2. Select the required private Git based project.
3. On the left navigation pane of the welcome page, click Repos.
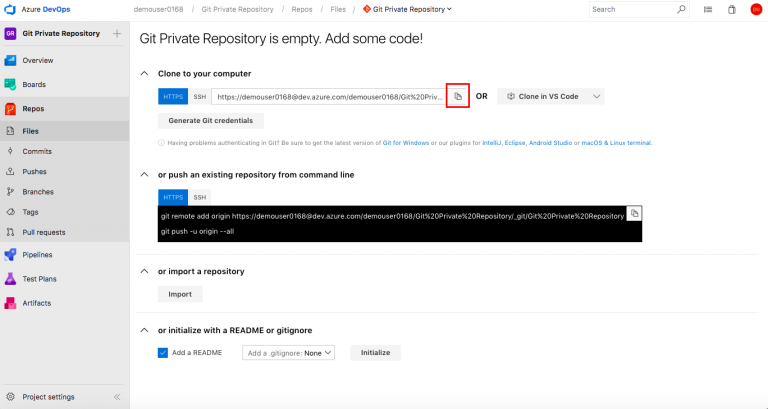
4. From the Repos page, click copy icon to copy the clone URL.
5. Now, go back to your Embold self-managed account and login
6. On Dashboard, go to your Projects and click Link repositories
7. On the Link Repositories popup, click Repository type as Git.
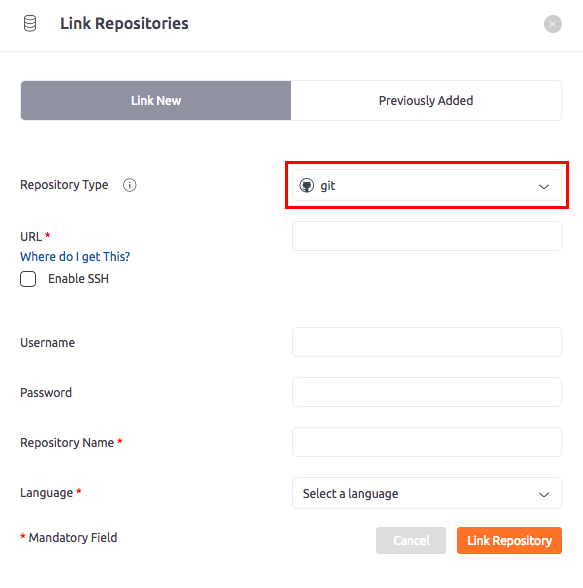
8. In the URL field, paste the URL ( Refer step 4 )
9. Enter your Azure account Username and Personal Access Token (this can be created from your Azure account > Profile > Personal Access Tokens section).
10. In the Repository Name field, enter the repository name.
11. Select the Language from the drop-down list.
12. Click Link Repository.
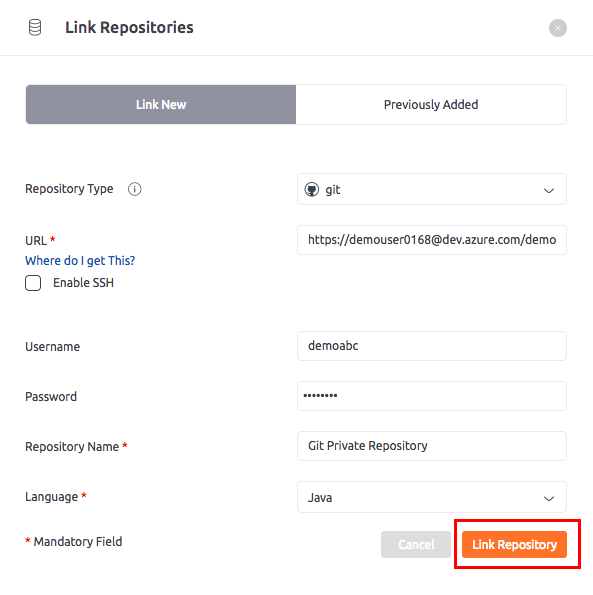
You have successfully added a private Git repository to Embold.
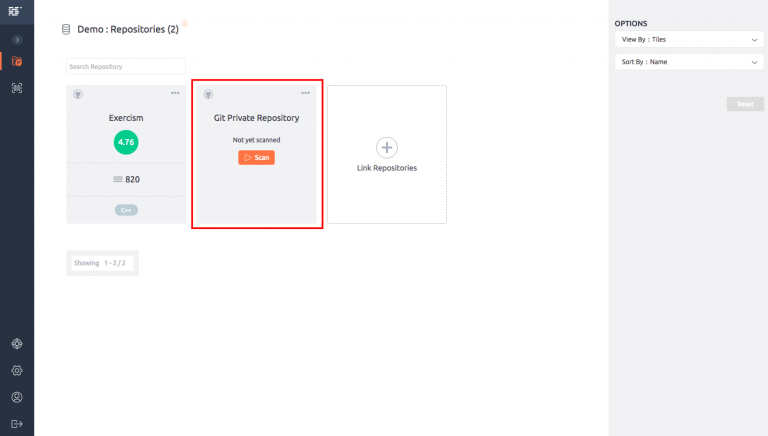
Open source Git-based repositories
Follow same steps as mentioned above for cloud based private Git repositories.
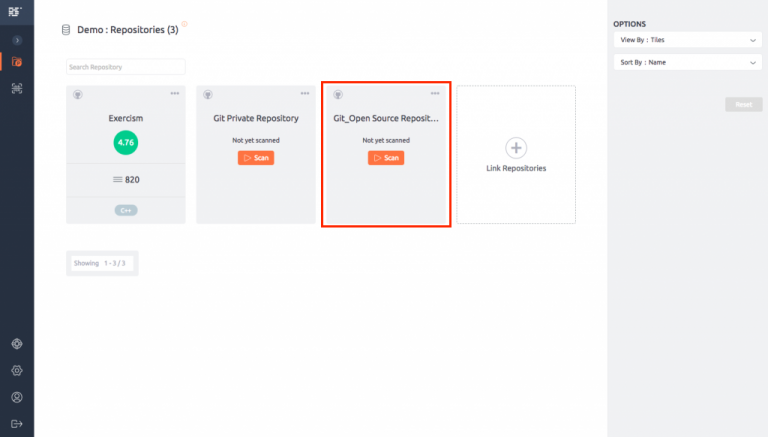
Private TFS-based repositories
1. Log in to your Azure TFS Server (newly known as AzureDevOps Server)
2. Select the required private TFVC based project.
3. On the left navigation pane of the welcome page, click Repos.
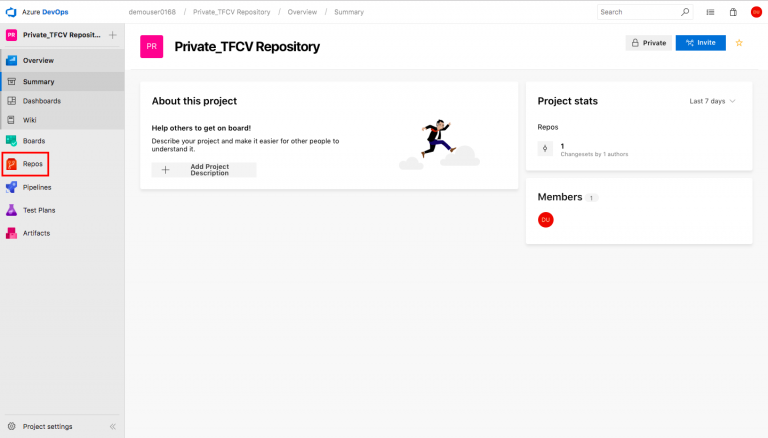
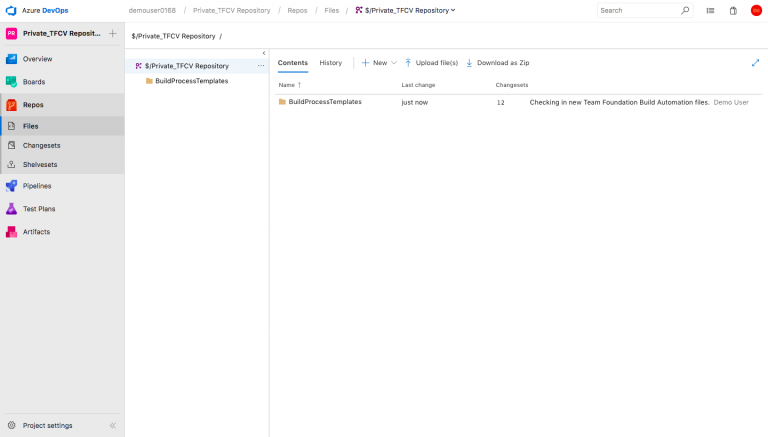
4. Now, go back to your Embold self-managed account and login
5. On Dashboard, go to your Projects and click Link repositories
6. On the Link Repositories popup, click Repository type as tfs from the drop-down list.
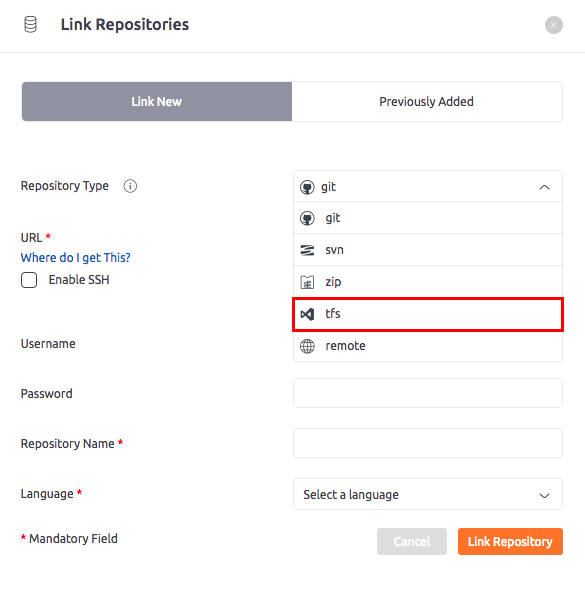
Note: When you select Repository type as tfs you should see inputs fields as shown in the next step below.
7. Enter URL field as shown in the below screenshot. Note that, you replace “myorg” with your actual “organization_name” under which your TFS project is created.

8. To capture Project path go to your AzureDevOps organisation and click on your project (or refer below screenshot). Move the cursor to the horizontal bar of the right pane and click to view the project path and copy it.
Note: Do not copy the dollar ($) and forward slash (/) sign that appears at the beginning of the project path.
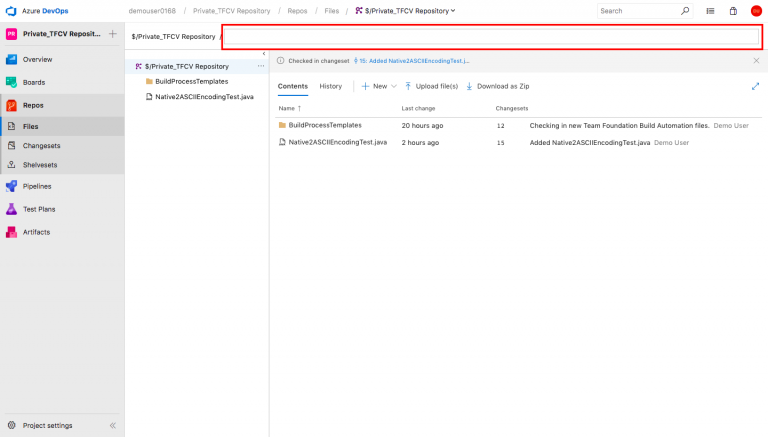
9. Enter your Azure TFS account username (this usually should not be your email). Copy it from your profile section or find it in your personal organisation browsers URL.
10. Enter Personal Access Token – for this your need to go to your Azure TFS account > Profile icon (top-right corner) > Personal Access Tokens page to generate one. Note that, while creating your choose right organisation and provide all access.
11. Then, enter your Repository Name field, choose the language and click Link Repository.
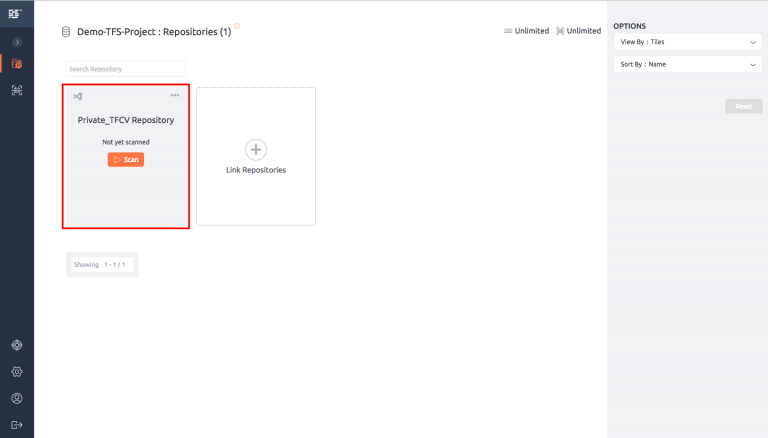
12. You have successfully added a private TFS-based repository to Embold.
Open source TFS-based repositories
Follow same steps as mentioned above for cloud TFS-based private Git repositories.
