Self-managed License
‘One license One host’ is the basic principle of self-managed licensing. The license cannot be used on multiple hosts (or servers) at the same time. However, you can move your license to a new host. This is also applicable to virtual machines.
Buy and Install BrowserStack Code Quality Self-managed
To buy BrowserStack Code Quality self-managed license kindly get in touch with us.
Install BrowserStack Code Quality
- Visit BrowserStack Code Quality customer portal.
- Enter the credentials to sign in to the BrowserStack Code Quality customer portal.
- Click Releases on the left navigation pane of the dashboard.
- Click on the latest release version and download it.
- You can now install BrowserStack Code Quality on your self-managed host.
Activate BrowserStack Code Quality for Self-managed host
- Once your finish installing BrowserStack Code Quality on your self-managed host machine you can access it http://localhost:3000.
- Copy the host key displayed on above URL.
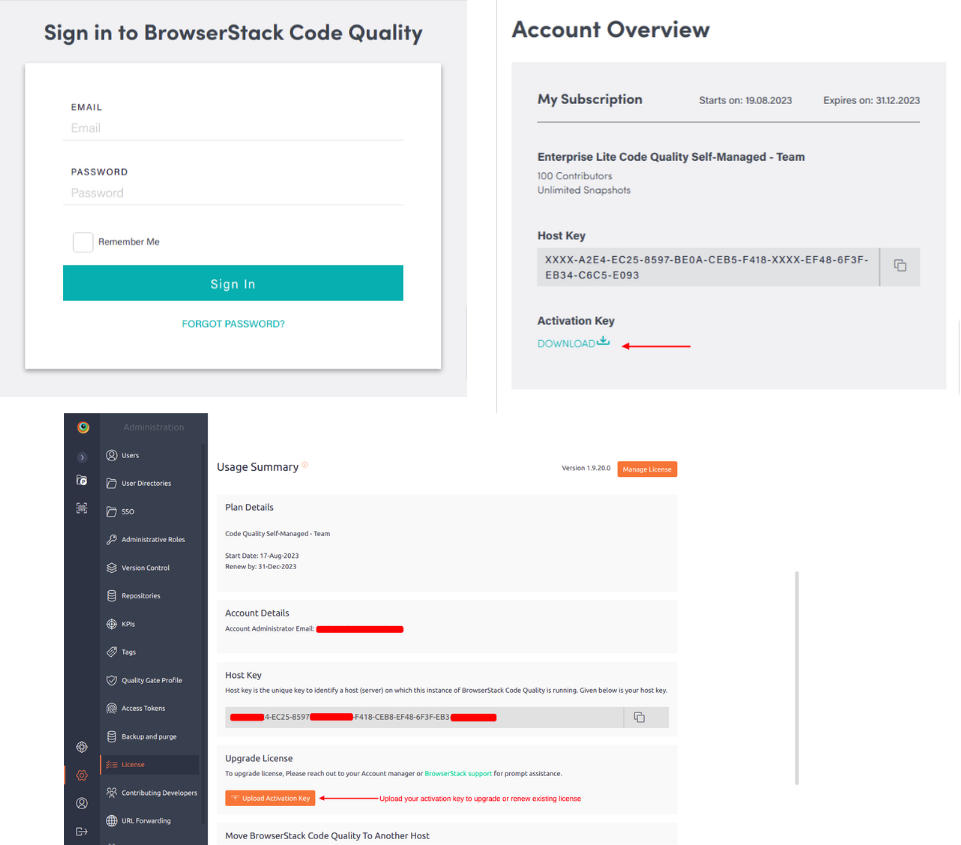
- Now, sign in to BrowserStack Code Quality Customer Portal to obtain your activation key.
- On Customer Portal Dashboard, paste the host key in the host key field.
- Click GENERATE ACTIVATION KEY button to obtain your activation key.
- Click Download button to obtain the self-managed activation key.
- Now, go back to your self-managed BrowserStack Code Quality account Activation Required page.
- Click Upload Activation Key button to upload the self-managed activation key.
- Then, follow the Set up admin account page displayed on your screen to setup your admin account who will manage your self-managed license account.
- Click Finish Setup.
- Click Get Started button to kick start your BrowserStack Code Quality self-managed features.
Upgrade or renew self-managed license
Follow below steps to upgrade or renew your existing self-managed license.
Steps:
- To upgrade or renew your license kindly contact us and we shall do the needful and get back to you.
- Once you get an update from our team then Sign in to BrowserStack Code Quality Customer Portal.
- Enter the credentials to Sign in to your account.
- Click Download button to obtain the upgraded or renewed activation key.
- Now, go back to your BrowserStack Code Quality self-managed machine and go to Admin > License
- To upgrade or renew your self-managed license, upload your activation key using Upload Activation Key button.
- After upgrading or renewing your self-managed license, you should see the updated license summary details.
Move BrowserStack Code Quality license from one host to another
Follow below steps to move (or transfer) your self-managed license from the current host machine to another host machine.
Steps:
- Login to self-managed account and go to Admin > License from the left panel.
- Under Admin > License if you scroll below should see Move License button.
- Move BrowserStack Code Quality to a new host page is displayed.
- Click the checkbox to confirm deactivation of BrowserStack Code Quality license on the current host machine. This will activate Proceed button.
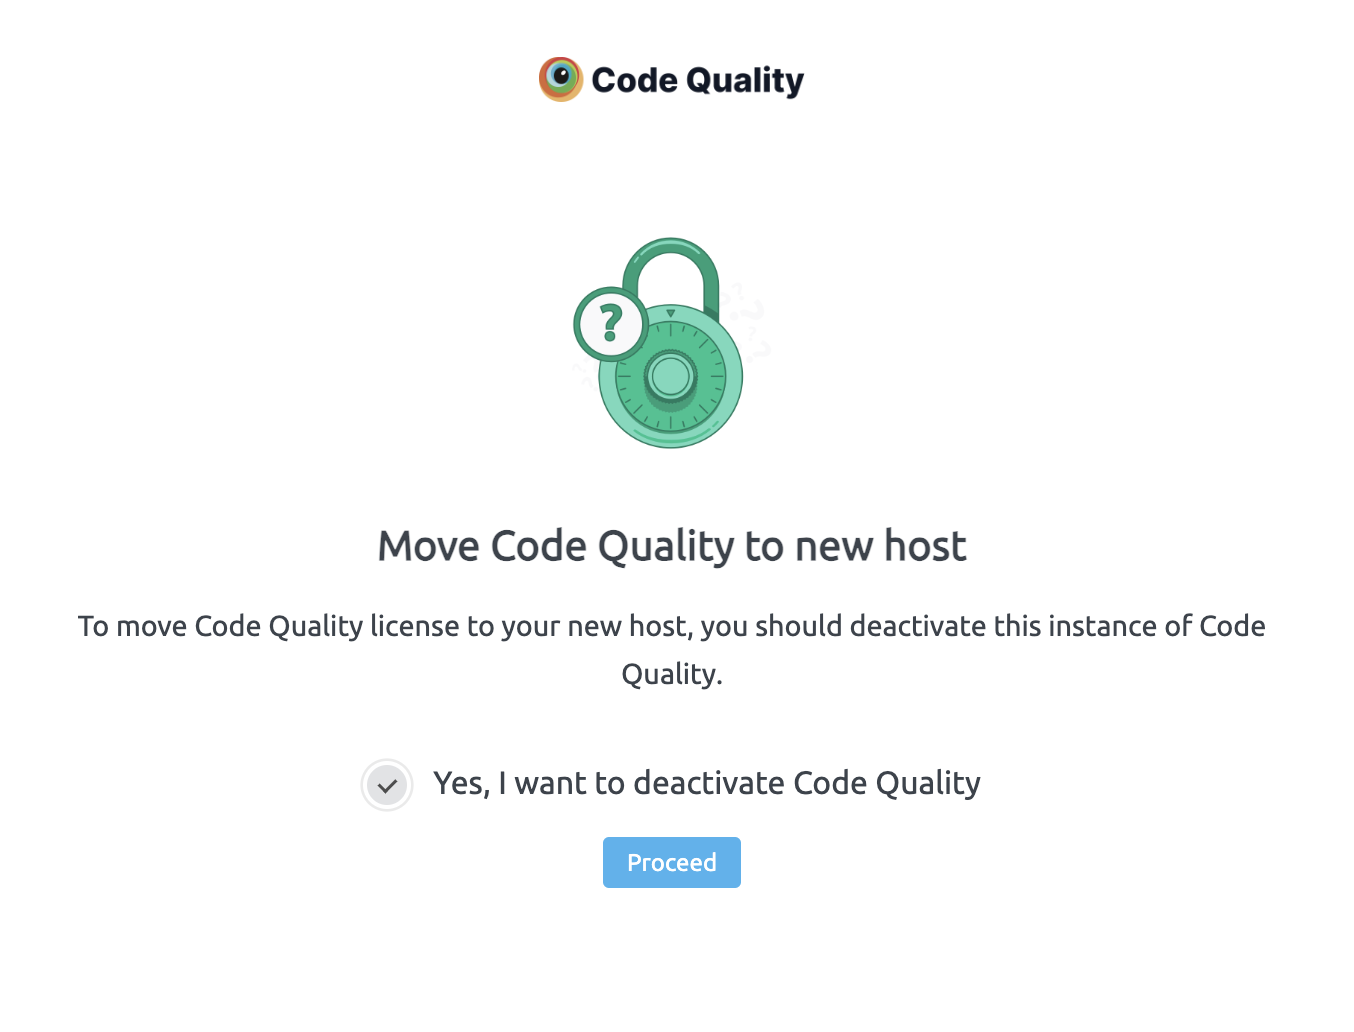
- Clicking Proceed button will start the deactivation process. Note that, once you confirm this you are not accessible to BrowserStack Code Quality self-managed account on the current host.
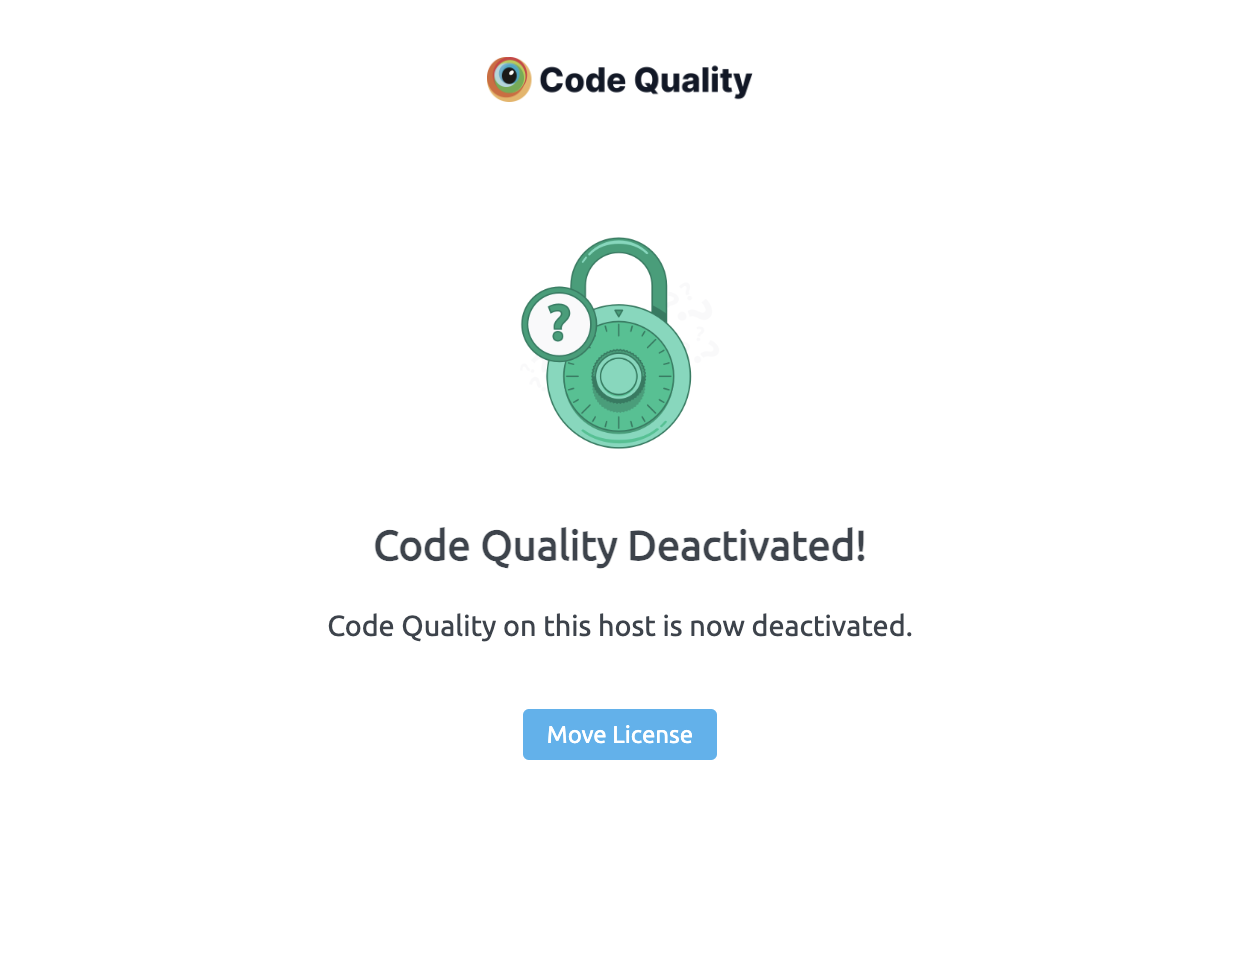
- BrowserStack Code Quality license is deactivated from your current host.
- Click Move License button and download de-activation key.
- On next step, click Download Deactivation Key button. Important to note, you need to upload this downloaded de-activation key in the next steps on customer portal (as mentioned below).
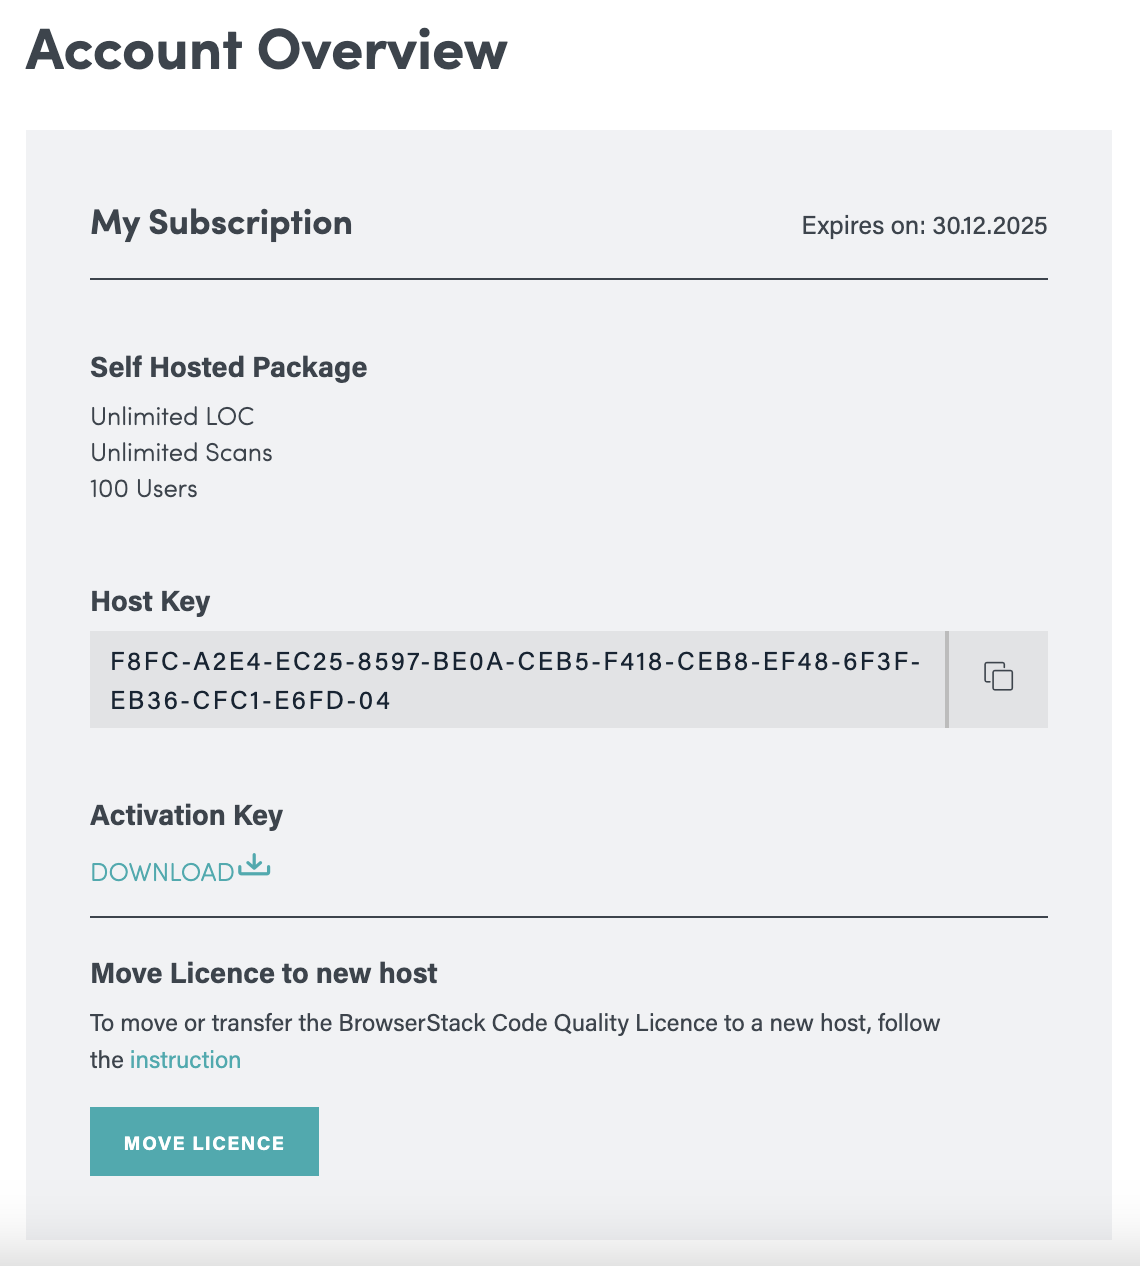
- Now, go to BrowserStack Code Quality Customer Portal and sign in.
- On Account overview section, you should see Move License button – click that.
Note that, to enable Move License button on your account section kindly contact us.
- Move License page will be displayed. Click Upload Deactivation Key link.
- Paste the new host key in the upload host key field.
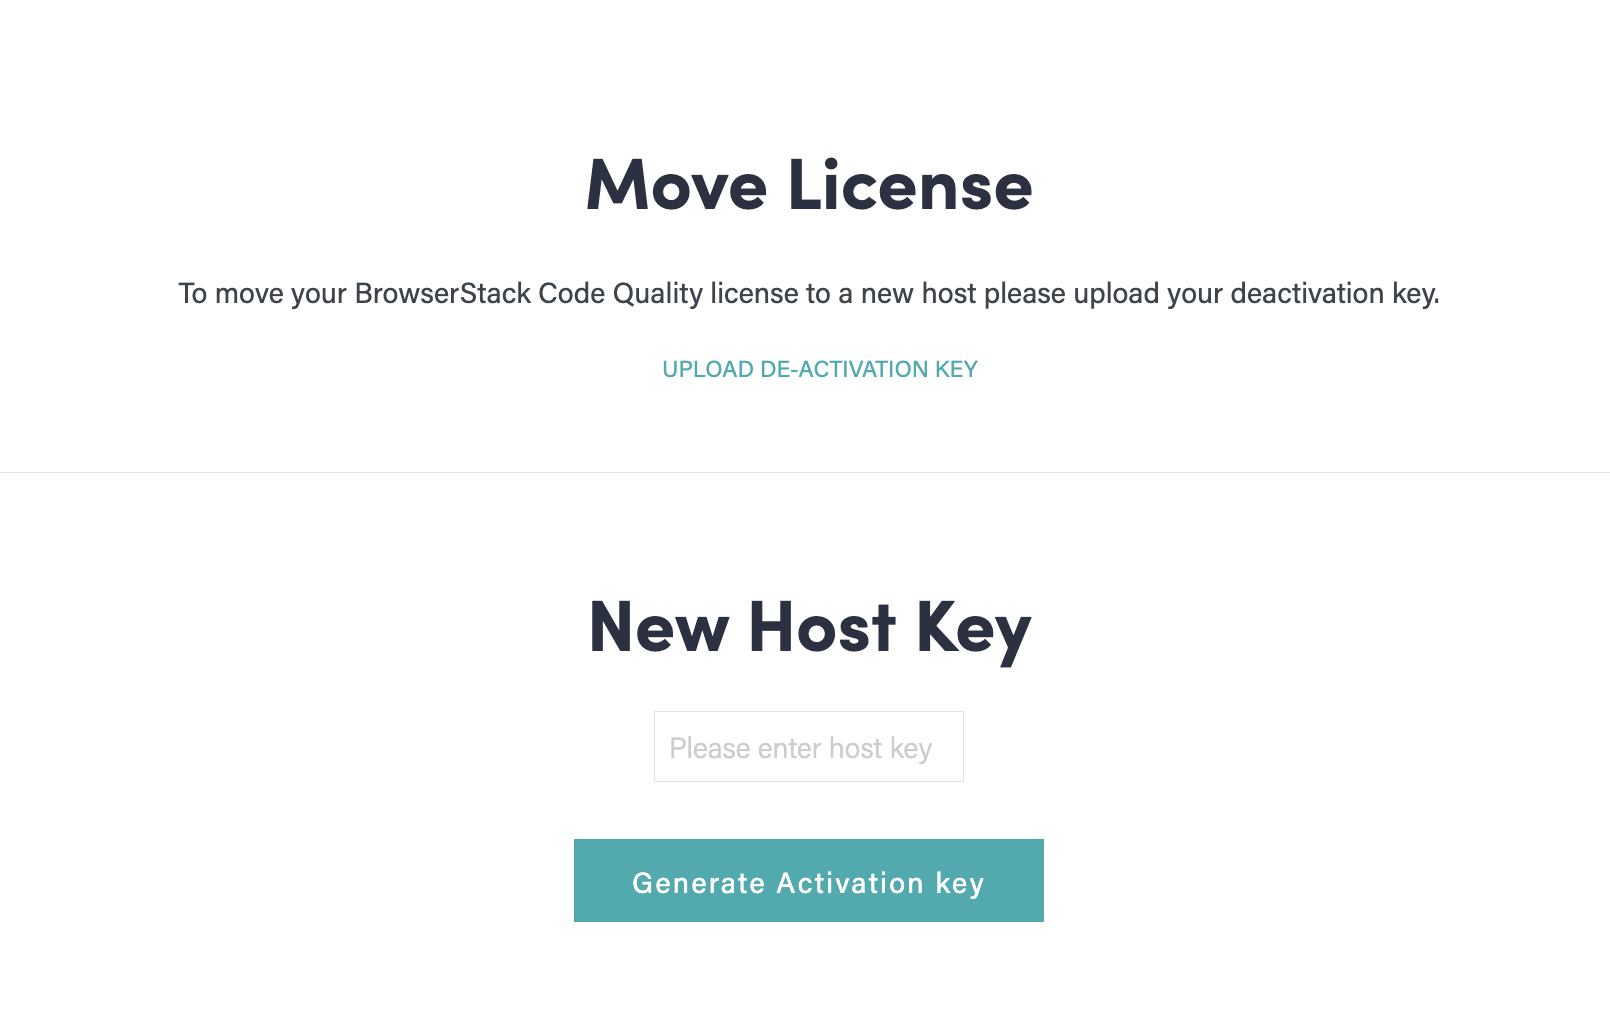
- Click Generate Activation key button.
- You are now redirected to BrowserStack Code Quality Customer Portal Dashboard.
- Click Download to obtain the new activation key.
